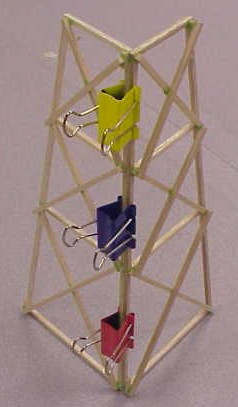
No matter
how well a tower is designed, if assembled poorly, it will perform poorly. Towers are built to be symmetric and the joints
must have precise mitering for tight surface to surface fits. If the joints show gaps between the wood surfaces, the final
structure will be very weak and fail quickly at these joints. Winning designs rarely fracture at the joints. Incidentally,
glues work best when surfaces being adhered are flush. Do not depend on the glue to hold when used as a gap filler. In addition,
this excess use of glue will always add excess weight to the whole structure, defeating the project by being both overweight
and weak!
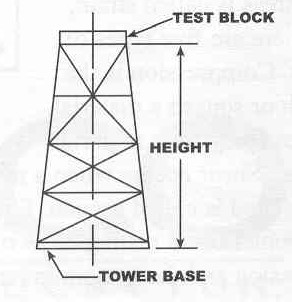
Consider the process of construction for assembling the tower. Full scale towers are designed
to be built in sections with materials that are manufactured to specific size and dimensions. When the final construction
is done on site, there is very little tolerance deviations. The fit is so well engineered that it practically falls together.
It must be stressed that care be taken when you build your prototype. The fit of each piece must be precise in order to have
a much stronger tower when finished.